Showing posts with label preschool. Show all posts

Friday, August 11, 2017

DIY School Years Keepsake Organization Bins

Like any mom, I like to keep things the kids bring home from school. This idea helps collect their memories.


Each month we hang up their artwork and fun things on our wall and (if I remember) at the end of the month I snap a monthly picture of all the art together. Like this.


But there are a few items that I just have. to. keep!

If it's got a kid's handprint on it, I'm keeping it forever.

Got a photo on it? Keep that!


Any sort of "About Me" or about a family member, keeping it!


An Award or Program. My baby got an Award! My baby was in a Play! Gotta save that forever and ever.

Anything that is uniquely special. I'm gonna keep that too (like that one time Car made a picture of a rooster with forks... I need to frame that for my kitchen!)

But by the end of the school year, I end up with a bunch of  paper and artwork that is all special. So, how do I store all of it forever and ever?

This is what I came up with.

I have four paper trays that live in our kitchen. Artwork or items to each specific kid ends up in these paper trays and this is where they live until they go down to their forever home. These trays are conveniently located next to the trashcan, so letter practice, or bingo dots on the letter M, can easily be disposed of (in secret when no little eyes are watching! because that can lead to the end of the world!). Even the baby has a tray to put her growth charts and important documents in.

When the trays get filled, I go through each kid's and weed it out again (maybe that fork rooster doesn't quite go with my kitchen décor... but it makes me smile and I still want it!) Then what has survived goes into their SCHOOL YEAR BIN.

Here's how to put together your own SCHOOL YEAR BIN.


Get a bin. I got four of these at Target for about $4 a bin. If you want to get fancy, you can order waterproof locking bins here, but I'm just not about that and I think these bins will do well stored inside in our office for the duration of their lives in our home.

I also got letter and number stickers and folders. So. Many. Folders. I found an 8 pack of folders at Dollar Tree and bought enough so I could color code the schools (Preschool, Elementary, Middle, High) but you don't have to color code them (but why wouldn't you?!?)

Take each folder and pop a sticker on it for each year. I needed to label a bunch of folders so I got creative and turned some I's into 1s if needed. Label ALL the years. Get folders for ALL the years. Get enough for ALL your kids (I even got a bin for Air so they are all uniform). Get it all done NOW so it's set up and ready to go for the rest of your child's school days. Then all you have to worry about it collecting art, awards, and fun memories.

Pop those folders into your bin! Use some extra letter stickers and put each kid's name on the outside of the bin. Boom. Done. Fill each folder with your special memories and you're all set and clutter free.

My hope is that each kid will have ONE bin to keep all of their school-year memories in. Hopefully they will fill them up with art and certificates and trophies and fun things. Then one day they will have everything together to take with them (or not. I don't care. I'll keep that fork rooster forever!)


Watch hot-mess me (and Car and Ay) put it together here

Tuesday, June 27, 2017

DIY 4th of July Handprint Flag Shirt Tutorial

I've been wanting to do this DIY Flag Shirt since Cam was a baby. Now that we have ALL our babies, I thought maybe it was finally time. Haha. I've included some affiliate links in this post so you can make your own shirts too!


These we're so so easy! The hardest part was finding a pack of white tee shirts that would easily fit my 2T 3T 4T wearing bunch. And I found these that worked perfectly in size XS!

Since we were using this craft fabric paint I didn't even prewash the shirts.

I used some leftover painters tape to tape off a few stripes per shirt (I taped less stripes on Air's onesie since it was obviously much smaller). I also stuck a piece of paper inside each shirt in case the paint bleed through (It did. Don't skip this step.)

Then I gave the kids a foam brush and the painted the white part of the shirt that was taped off. Everyone had a different method. Brush strokes and dabbling seemed to work the best. We we're going for fun and not for perfect. So I just let them go at it. (You may want to also place a piece of tape vertically at the ends of the stripes if you are in a going-for-perfect mood).


Then we took some star stickers and put them on our top left corner. (Ours came from a practice workbook but these are similar)

I painted each kid's hand with blue fabric paint and quickly put their handprint over top the star stickers. Fabric paint dried quickly. So work fast on this step.


Next we freaked out and washed everyone's hands before they touched anything easily pulled off the star stickers and tape to reveal white stars and stripes!


And that was it! It was so quick and fun and I can't wait to get a picture of the whole gang in their shirts (Fingers crossed. That will probably be more difficult than actually making the shirts!) We even made a onesie for baby Air!


Happy Independence Day!

Monday, June 19, 2017

Mini Letter Crafts A B C D

We've been (attempting) to do a handprint and a cut out craft each week going along with the ABCs. I'm creating FREE Preschool Printable PDFs of our cut out crafts so you can play along.


Each page has 4 letters and I'll post as we go.

If you want the sheet with ABCD, just follow the PDF link below for the downloadable file.
(A is for Alligator. B is for Bee. C is for Cat. D is for Dots)

Here's some affiliate links to the supplies we use for our preschool crafts.

Elmer's Disappearing Purple Washable Glue Sticks (because who doesn't love washable).
Home Printer (this is the newer (and cheaper!) version of my Cannon MP560 that I LOOOVE!)
Ink Cartridges. (Because I promise you they're as good as the $30 for ONE you've been buying at the store).

Enjoy!

DOWNLOAD YOUR FREE ABCD PRINTABLE HERE.

Sunday, June 4, 2017

Mini Letter Crafts A & B

It's already Summer Break for my preschoolers (and soon to be Kindergartener!). To keep busy this summer, we're (trying) to do some sort of craft each day.

We also practice writing our name and holding our pencil.

We're making ABC handprints and I made some mini cut-out-letter crafts for us to add to our Alphabet Books. There's two letters each on a page (to save the trees and have copies for siblings, yo!) but you could enlarge them too if you wanted.


You can download the free printable for letters A and B here.


Mom! I'm gonna draw a guy in his mouthing saying "Ahhhhhh!"


Here's hoping we get through the rest of the Alphabet (because, you know, kids are cray and summer gets lazy. Ha!) 

Thursday, May 25, 2017

This Year BLEW By Last Day of School Bubble Tag Free Printable

Happy Last Day of School!


Last year I created and printed off these adorable bubble tags and tied them on with some cute twine. Boom. Instant summer gift. There's 9 to a page on the printable PDF (linked below) and the perfect summer send off.


Follow this link to a printable PDF to print some for yourself!

https://drive.google.com/file/d/0B-XVhfwFTBF1S1JFRnpQaGx0djQ/view?usp=drivesdk&resourcekey=0-8V1KW842ZB_P5OiRmjn5FA

Monday, April 10, 2017

Biggie Bead Easter Egg Craft


We were getting close to Easter and really hadn't done much. (Oops!) To be fair, we are closing on the new house and getting ready for Cor to travel and for us all to take a pretty extensive road trip (stay tuned for that), so Easter was on the back burner.

Car brought home this craft from preschool and I thought it might be a fun idea to replicate with melted beads. We used BIGGIE BEAD PERLER BEADS (affiliate link) and placed parchment paper on top of our template and put the whole thing on a Baking sheet.

After we had them all placed relatively close together, I carefully slid the bottom paper away.

I then put the whole thing in the oven at 300*F for 1 hour. Ours needed about 10 more mins, and then it was all perfectly melted together. I used a spoon to squish one stray bead down while it was all still hot and it did the trick.


Here's the template Car came home with from school. But you could also Google image "preschool Easter egg color page" for more ideas. 

Monday, March 24, 2014

St. Paddy's Fun

Well, it's been a while. I wanted to share with you a super cute St. Patrick's Day craft I did with the boys last week. I literally had a "Oh, crap. It's St. Patrick's Day. Maybe I should do something" moment. Not that I think it makes me a better Mom, but it makes me FEEL like a better Mom, so I decided to do some Pinterest searching and found this idea found on a blog here.

To be honest, I didn't even look at the blog. I skimmed Pinterest, saw the picture and figured it had basically no prep and my two year old could do it. Boom. Now I'm crafty.

While Little was exploring downstairs in a safely baby proofed room and Big was napping, I quickly gathered up some construction paper and sliced it into strips. Not gonna lie - my strips were pretty big because I didn't want this to take forever.


When Big woke up, we got our craft on. I know two year old's like tape, but Big LOOOOVVVEEES tape. I don't get it, but whatever kid. He really enjoyed putting a strip of paper through the hole of our paper chain and then sticking a piece of tape to hold it together (and then I would stick another piece of tape to ACTUALLY hold it together).


Little loved handing us colors of paper and waving them around in the air. I was actually shocked with how well they worked together. Shocked, I tell ya.


In the end, we hung our "rainbow" on the door so Daddy would see it when he was on his way home. I ended up going back later and cutting out a black pot with some gold gold in it later when Daddy got home and had no clue it was suppose to be a rainbow.


Our rainbow and gold hung in our kitchen for a few days after St. Patrick's day and Big loved pulling at it until it finally fell apart. Overall, I'm glad I could take some time and watch how much my little guys really are growing. They both are impressing us daily.

Happy St. Patrick's Day!

(Oh yea - I was also 'that mom' who made 4-leaf clover sandwiches)


Sunday, January 12, 2014

Preschool Goals: Revisited

Before the start of 2014, I spent a lot of time compiling Letter of the Day, Theme, and other preschool activities to start doing with Big three days a week. I had it all figured out. Monday, Wednesday, and Friday we would sit down during Little's nap, sing our ABC's and count to 10 with a pretty little poster I made. Then we would do an activity surrounding a letter of the day. For the first day, we were suppose to color and glue five little apples to a cut-out "A" while singing some rhyme about apples falling off of a tree. After our letter of the day, we would do a themed activity. January's theme is winter and hibernation. Like I said, I spent a lot of time putting together activities. The first day's activity was playing with an ice cube in a bin while adding ice and warm water to see what it does. After the themed activity, we would have an awesome snack that was just cute enough to go along with our day. Day One's Snack: Sliced Apples and Peanut Butter.

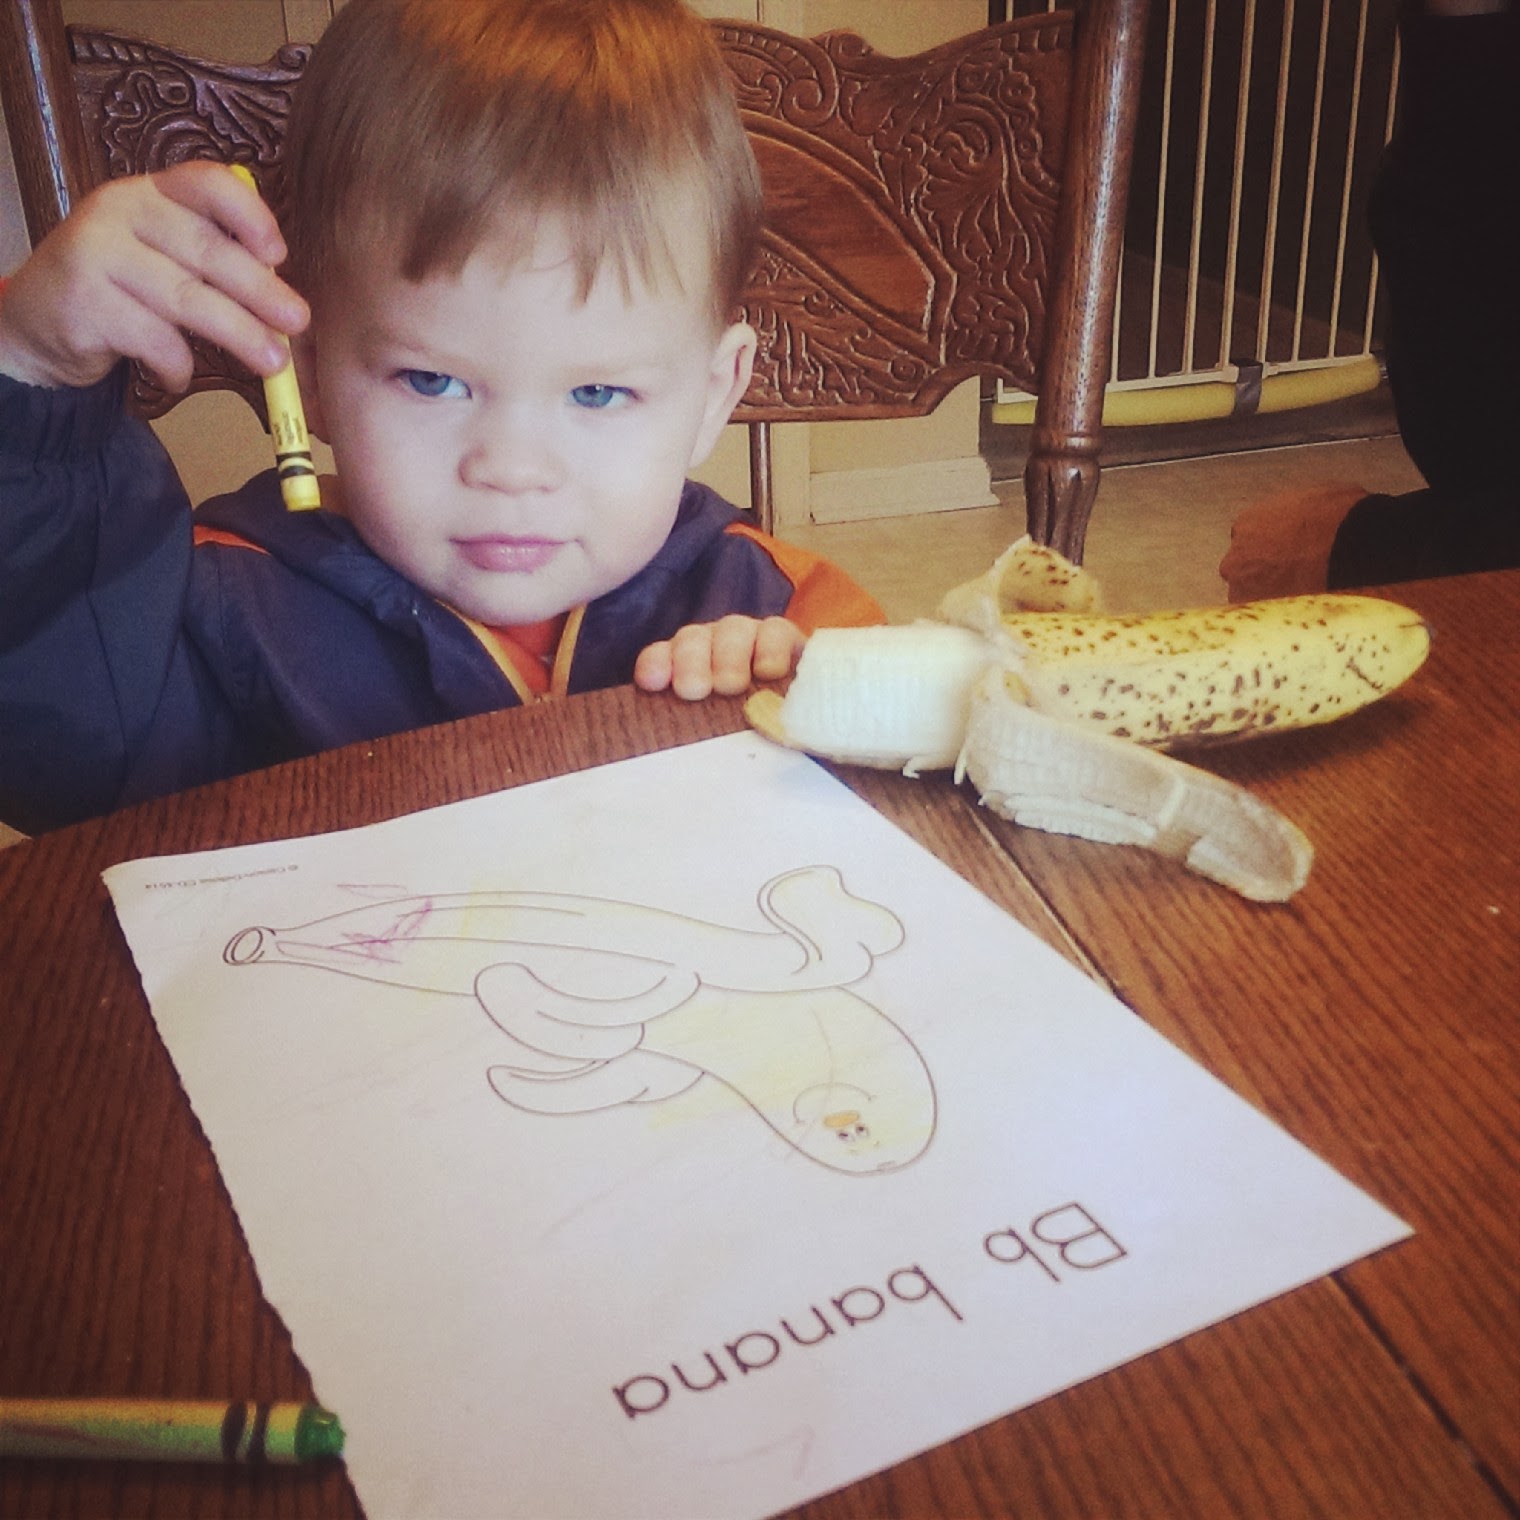
Cute right! I spent so much time creating lesson plans. I am an educator; I know how things work. However, I am an adult educator and I realized quickly my mistake in planning Big's curriculum: He. Is. Two. He is basically in charge of his own life right now and very into being independent. After I found on that first day of home school preschool that I don't want to spend my day cutting out apples, I realized Big was just as happy to color one apple out of an alphabet coloring book I found for $2. I tried to switch gears and move on to our themed activity, but guess what, Big still wanted to color. Like I said, he's the boss and am I really going to fault the kid for wanting to color? No. Then the baby cried, and I had to nurse him. Mr. M had a fun time playing with an ice cube with Big, but I was lucky that he happened to be home from work and able to help facilitate my unrealistic preschool goals.

After that day, I realized that if I could just sing the ABC's, count to 10, and let Big color one of his alphabet pages for the day three times a week, we are winning at home school.

Sometimes I need to remind myself that he is two. Coloring a page, practicing pronouncing the sounds, and trying not to eat ALL the crayons is my new goal for him. And he's excelling. I predict all A's for Big this semester.

Coloring a banana while eating a banana: Now that takes skill!